Building Skills While Rebuilding a Home The Renovation Journey
🪵 Project | September 22, 2025

Renovating an 1800s Countryside House: The Starting Point
Regular posting has slowed while the focus has shifted toward a major life change. The move to the countryside centred on finding land and space for horses, as boarding them at stables had become too costly. That requirement narrowed the search to rural properties with acreage and a usable barn or stable. The chosen place turned out to be an 1800s countryside house that had been left in poor condition for many years. Its price fit the market at the time, although the neglect meant that every corner of the property carried hidden challenges.
The first walkthrough was with the owner, who claimed that the house was “move-in” ready. However, it was clear that the previous rental tenants and owner had left garbage scattered across the property, with rooms in other buildings having a stale smell hanging in the air, and windows rattling in their frames. The kitchen looked like it was stuck in the 1970s. An inspector walked through with us and found layers of bad repairs and shortcuts. Their verdict was simple: undo everything the previous owner had done and start over, but he didn’t seem to think the property was a write-off, given that if the right buyer was found, the problems could be fixed. So, we signed, and since this was my first full-house renovation at a low cost, it would serve as a learning lesson.
These house renovations reflect where I am in my career. I had spent a good chunk of my life in the IT sector, moving between development, systems administration, cybersecurity, cloud infrastructure, and product research and development. But now the industry is currently in the midst of a transformational change, with companies trying to understand AI and reorganizing their companies, given new economic challenges. Living through past economic downturns like the dotcom crash, the 2008 meltdown, and Finland’s unstable cycles. I knew it was time to step back, wait for the dust to settle, and focus on developing and expanding my skill set. Currently, I am focusing on developing my trade skills.
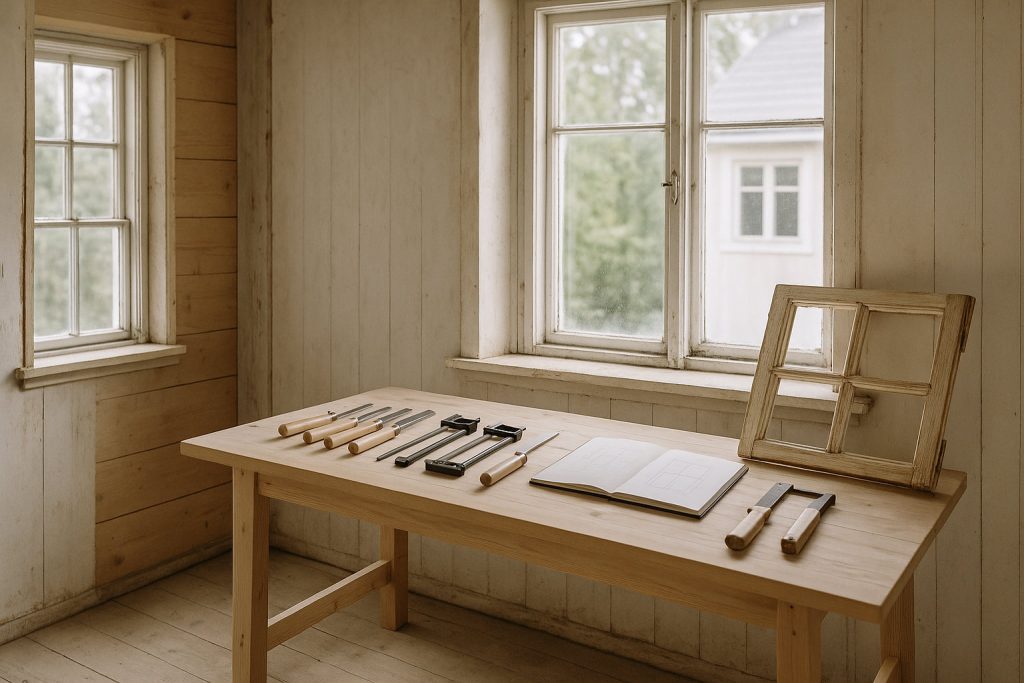
Carpentry had always been an interest of mine, just buried under years of digital work. Renovating this house became a way to relearn the basics and build confidence again. Repairing a rotted window frame allowed me to go back to the bare basics of woodworking, since the repairs are just basic woodworking concepts. Once the carpentry foundation is solid, I’ll push into metalworking too. For now, I will probably focus on learning the ins and outs of traditional window building and restoration.
I created this blog to document my transition. At the same time, it’s not a polished pro-builder or a makeover like seen on TV. It’s the real work of pulling a neglected house back into shape. Some days are wins, but mostly a lot of mistakes, but each one adds up. I approach it the way I would any technical project: breaking it into tasks, building the right toolchains, and keeping track of what works and what doesn’t.
Along the way, I’ll be building more than a house. I’ll share the jigs, planners, and tools I create, which often find their way into my Etsy shop. This project is proof that systems thinking and maker culture fit together. If you stick around, you’ll see both: the practical repairs that hold this house together, and the mindset shift that is pulling me from IT back into the world of making.
Restoring Original Windows in a Historic Countryside Home
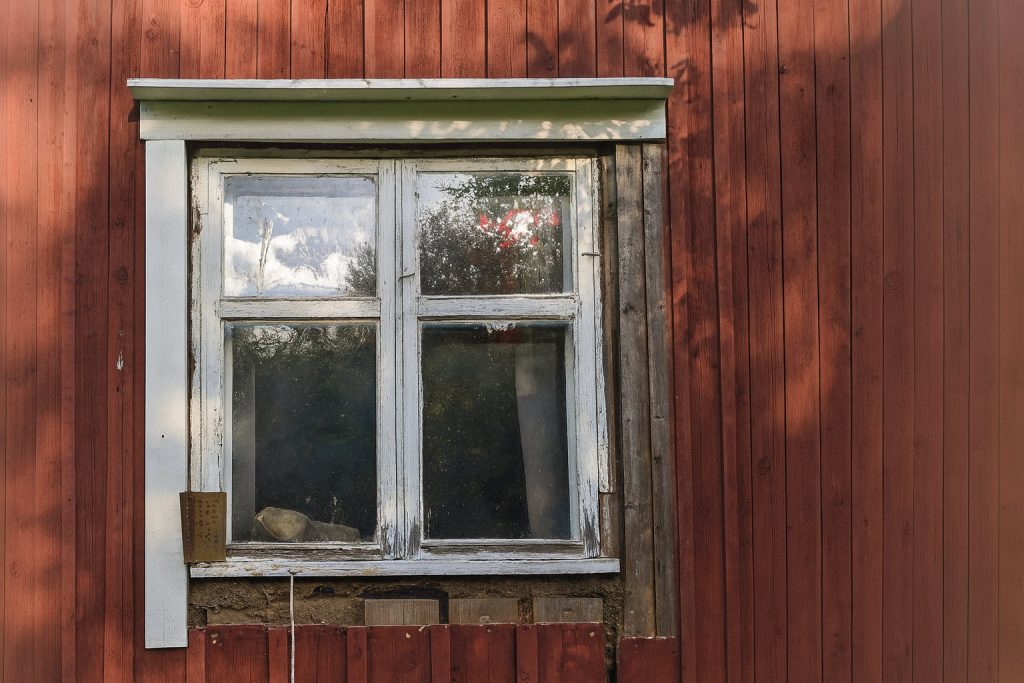
The inspection report described issues with a few of the windows. Since, at the time, the windows were an easy task, given the other problems of the house. We took this on as the first renovation project. Decades of neglect had left them in rough shape: cracked frames, flaking paint, missing putty, and gaps that let in rainwater. Restoring them meant understanding the traditional building process of the windows. Restoration of the windows was less about rushing to finish and more about understanding how these old materials and joinery techniques worked.
I’ve written a whole post about our first attempt at restoring the windows, detailing the process, including the tools and techniques I used. You can read it here: My Voyage Into the World of Rustic Window Repairs.
Kitchen Renovation in an Old Farmhouse: Plans and Progress

The kitchen is the next major project on the list. This renovation is more complicated, given that the logs on the external wall have been damaged. Unfortunately, the extent of the damage wasn’t known since the inspector and professional trades didn’t have access to the underlines during initial inspection. Right now, it stands as one of the most outdated and challenging parts of the house, and it will take a mix of repair and redesign to bring it back into everyday use. This section will serve as the hub for that journey.
I’ll be sorting through photos and documenting the process soon. Once the detailed post is ready, you’ll find it linked here. For now, think of this as the placeholder for the transformation that’s coming.
Organizing a Countryside House Renovation: Tools and Workflow
The renovation began with the windows, taken on without a larger plan. That first step set off an ever-growing list of tasks that made it clear a more systematic approach was needed. Bear in mind that while the house was being restored or renovated, additional work on the property was also needed due to the horses and other neglected buildings. To help streamline the work for the house, a room-by-room structure was adopted to keep the work organized and measurable.
Work on the windows led into the kitchen, and from there, additional issues appeared in adjacent rooms. The sequence of projects has been guided by the conditions revealed during the process, shaping priorities as repairs move forward. The window work allowed parts of the exterior to be examined to determine how much rot/damage needed to be addressed. In addition, this assessment aimed to evaluate the extent of damage from the exterior to the interior that required attention.
An expert in traditional building techniques provided guidance on establishing a consistent process. The framework of demo, repair, and finish will now be applied across projects, creating a repeatable cycle for the work.
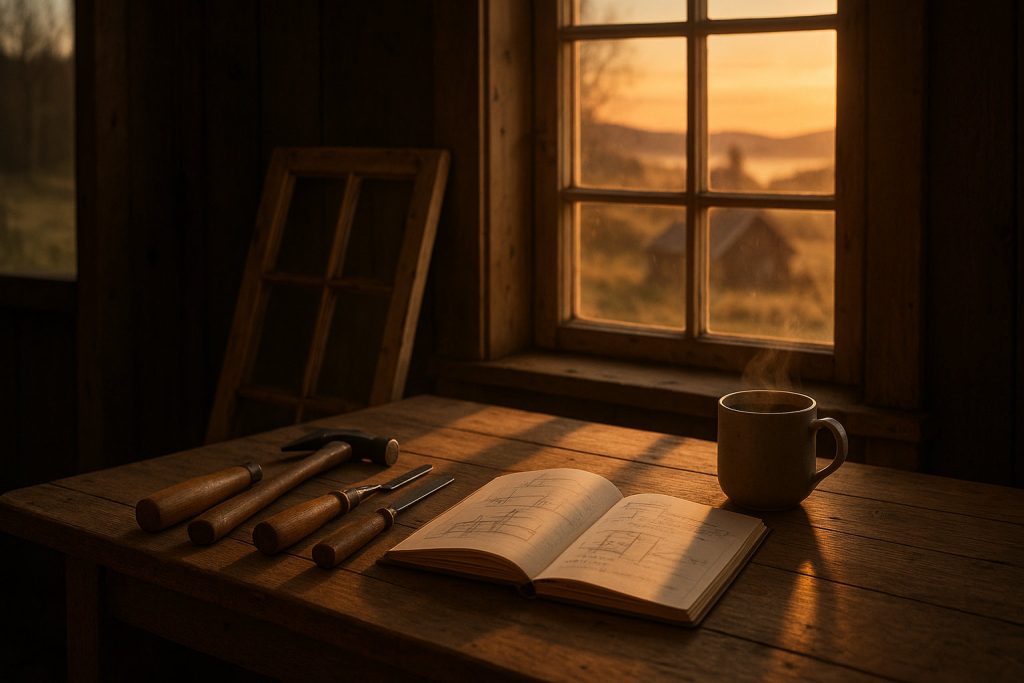
Planning tools remain limited. Photos are taken as progress allows, and lessons learned are recorded here on the blog. A dedicated planner will eventually provide more structure, with the blog continuing to serve as a place for reflection and documentation. The goal is to become familiar with traditional building processes and conduct research on how to proceed with additional renovation. Since the kitchen was the first attempt to get a peek at the overall structure, gathering information and planning should become easier.
Projects often connect in different ways. Work in one room can reveal problems in another, while some tasks stay contained to a single area. Repair methods are first tried on a single piece and then applied more widely once they prove effective. The first window restoration, for example, became a trial run that provided the experience needed to approach the remaining windows with more confidence.
Quick solutions are sometimes applied to smaller tasks, with the intention of revisiting them later. Permanent repairs are contracted out to professionals to ensure durability. The goal throughout this process is to share the workflow openly and highlight the practical lessons uncovered along the way.
Upcoming Renovation Projects for the Countryside Home
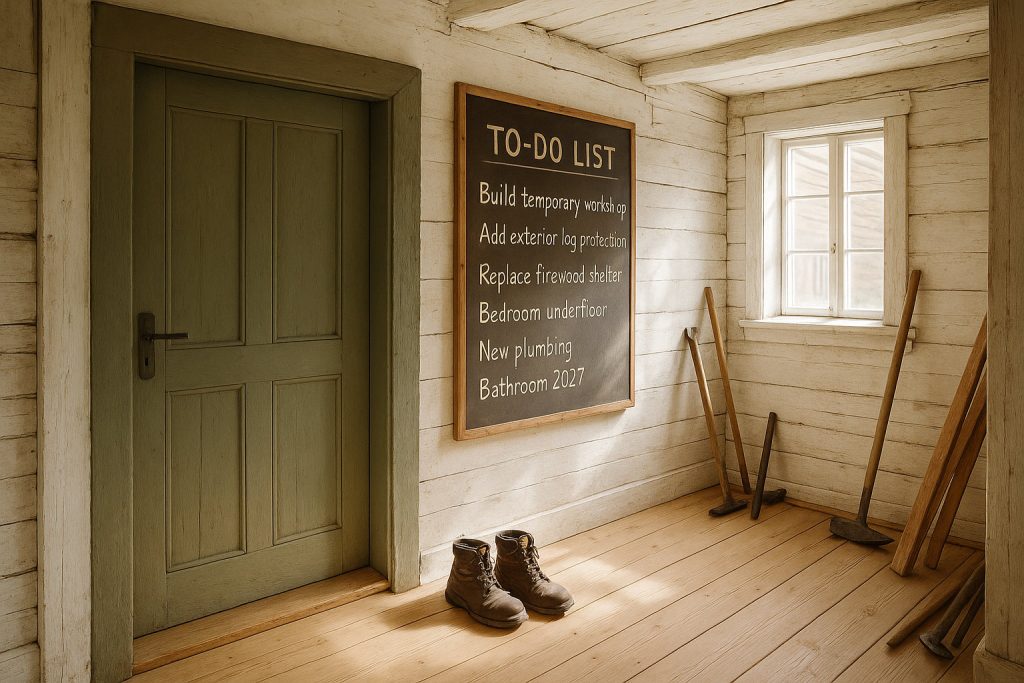
The renovation does not stop with the windows or the kitchen. Several major projects are already lined up, starting with the house exterior. Rain damage to the logs was uncovered during the kitchen work, and although the damaged sections have been swapped out, protective wooden slats still need to be installed to prevent future problems. A new firewood shelter also needs to be built, and a temporary workshop is high on the list so that the window repairs can move forward in a proper space.
Other projects include replacing the bedroom and living room underfloors/crawl space, updating the plumbing, and rebuilding the bathroom. Some of this work will take place in the near term, while the bathroom overhaul is scheduled for a later date once budget, architectural drawings and building permits have been acquired.
The seasons also shape what happens next. Exterior work can only take place during late spring, summer, and early fall, and only when the weather stays dry. That makes timing as important as planning, since some repairs can move forward only in specific windows of the year.
Readers can expect updates here on the blog as each project develops. Subscribing is the best way to follow along now. In the future, you will also be able to stay updated through our email list and posts on Instagram and Pinterest. Items and tools featured in the renovation may also appear in the Etsy shop, allowing others to utilize parts of this process.
This house is more than a renovation project. Each task adds to a growing record of what it takes to bring an old structure back to life. Some of the work is urgent and practical, while other projects will unfold over years; all of it reflects the ongoing shift toward learning through making.
Lessons Learned from Restoring a Historic Countryside House
The renovation so far has been about learning the basics. Window repairs have drawn on basic hand tools and knowledge shared by builders online, while the log restoration relied on an expert tradesperson who combined traditional methods with modern tools. Seeing how the house was constructed initially adds context, even if the work now relies on updated approaches.
Each step has required slowing down and paying closer attention. Renovation demands patience, problem-solving, and careful thinking. The results are tangible, and the impact can be seen immediately, marking a significant change from years spent at a desk in IT.
The work is more than a series of repairs. It represents a return to older skills and the pursuit of meaning beyond technology. The process opens the door to future possibilities, with techniques such as CNC likely to become part of later projects.
Readers are encouraged to continue following the journey as additional projects take shape. Every stage contributes new lessons, and sharing these experiences may help others begin or continue their own renovations. The story will continue to grow as more of the house is restored.